
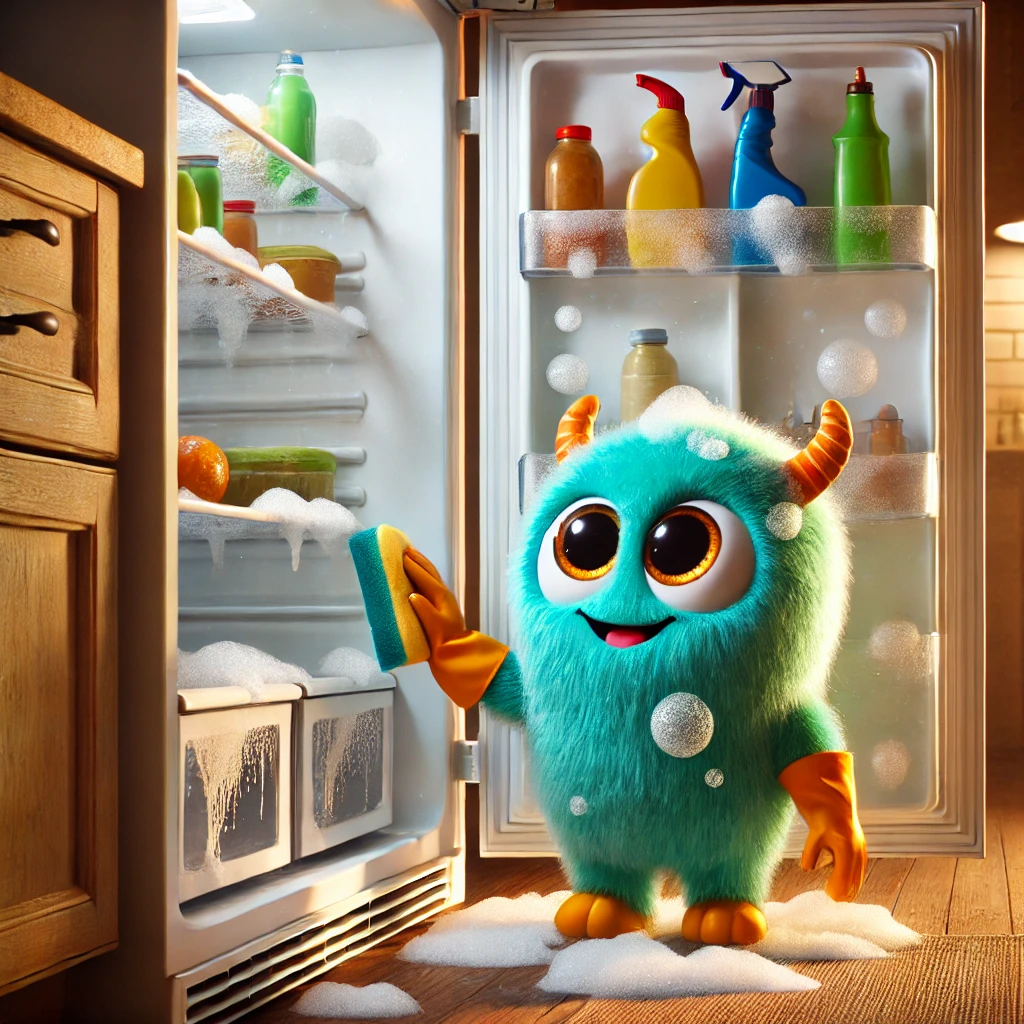
A clean refrigerator is essential for maintaining a healthy and organized kitchen. Over time, food spills, expired items, and general wear and tear can lead to unpleasant odors and grime buildup. Deep cleaning your refrigerator might seem like a daunting task, but with the right approach, it can be both manageable and satisfying. In this guide, we’ll walk you through a step-by-step process to deep clean your refrigerator, leaving it fresh, spotless, and ready for all your culinary adventures.
Why Deep Clean Your Refrigerator?
Before diving into the cleaning process, it’s important to understand why deep cleaning your refrigerator is crucial. Regular cleaning prevents the growth of harmful bacteria, ensures your food stays fresh longer, and helps maintain the efficiency of your appliance. Additionally, a clean fridge contributes to a more pleasant kitchen environment, free from unpleasant odors.
What You’ll Need To Deep Clean Your Refrigerator
To get started, gather the following cleaning supplies:
- Mild dish soap or a specialized refrigerator cleaner
- Baking soda
- White vinegar
- Warm water
- Microfiber cloths or soft sponges
- Old toothbrush or small cleaning brush
- Trash bags
- Vacuum cleaner with a crevice attachment (optional)
- A cooler or insulated bags for perishable items
Step 1: Empty the Refrigerator
Begin by removing all the food from your refrigerator. This is a great opportunity to check for expired items, leftovers that have seen better days, and anything else that needs to be tossed. Place perishable items in a cooler or insulated bags to keep them fresh while you clean. If possible, try to time your cleaning session before a grocery run so your fridge is relatively empty.
Step 2: Remove Shelves, Drawers, and Other Removable Parts
Once the refrigerator is empty, carefully remove all shelves, drawers, and other removable parts. These components often accumulate the most dirt and grime, so they’ll need special attention. Take them to your sink for a thorough wash using warm water and mild dish soap. If your sink isn’t big enough, a bathtub works well for larger items.
For stubborn stains or sticky spills, let the parts soak in warm, soapy water for a few minutes. You can use a small brush, like an old toothbrush, to get into the nooks and crannies. Rinse everything thoroughly and let it air dry completely before reinserting them into the fridge.
Step 3: Clean the Interior
Now that the fridge is empty and the shelves are drying, it’s time to clean the interior. Start by mixing a solution of equal parts warm water and white vinegar. The vinegar acts as a natural disinfectant and deodorizer, making it perfect for refrigerator cleaning. If you prefer a commercial cleaner, ensure it’s safe for use on refrigerator surfaces.
Using a microfiber cloth or sponge, wipe down the entire interior, including the walls, ceiling, and floor of the fridge. Pay special attention to corners, door seals, and any areas where spills have occurred. For tough stains, sprinkle a bit of baking soda directly onto the stain and scrub gently with your cloth or sponge.
Don’t forget to clean the door shelves and compartments. These areas often house condiments and other items that can leave behind sticky residues. Remove any crumbs or debris, and give them a thorough wipe down.
Step 4: Address the Freezer
If your refrigerator has a freezer, this is a good time to clean it as well. Start by emptying the freezer, just as you did with the fridge. Depending on the amount of frost buildup, you may need to defrost the freezer first. Most modern freezers are frost-free, but if yours isn’t, unplug the appliance and let the frost melt. Place towels around the base to catch any water.
Once the freezer is defrosted, clean the interior using the same vinegar and water solution. Wipe down the walls, shelves, and any ice trays or bins. If your freezer has a removable ice maker, take it out and clean it separately. Dry everything thoroughly before returning food to the freezer.
Step 5: Clean the Exterior
The exterior of your refrigerator deserves attention too. Wipe down the doors, handles, and sides with a microfiber cloth dampened with warm, soapy water. For stainless steel fridges, use a cleaner specifically designed for stainless steel to avoid streaks. Remember to clean the top of the refrigerator, a spot that’s often overlooked and can accumulate a surprising amount of dust.
While you’re at it, check the rubber door seals (also known as gaskets). These seals can trap crumbs and spills, which may lead to mold growth if not cleaned regularly. Wipe them down with your vinegar solution, ensuring they’re dry afterward to maintain a tight seal.
Step 6: Clean the Coils (Optional but Recommended)
Refrigerator coils, typically located at the back or bottom of the unit, play a crucial role in keeping your appliance cool. Over time, they can get clogged with dust and dirt, reducing efficiency and making your fridge work harder than it should.
To clean the coils, unplug the refrigerator and locate the coils (check your manual if you’re unsure). Use a vacuum with a crevice attachment to gently remove dust and debris. If the coils are particularly dirty, a coil brush can help loosen the grime. Cleaning the coils every six months can help your refrigerator run more efficiently and last longer.
Step 7: Reassemble and Restock
Once everything is clean and dry, reassemble your refrigerator. Replace the shelves, drawers, and other removable parts. Before putting the food back, consider wiping down any containers, jars, or bottles to avoid reintroducing dirt or spills. Organize your items as you go, placing older items in front so they’re used first.
Step 8: Maintain Your Clean Fridge
Now that your refrigerator is sparkling clean, keep it that way with regular maintenance. Wipe up spills as they happen, and clean the interior every couple of months to prevent grime buildup. Regularly check for expired items, and give the exterior a quick wipe down during your weekly cleaning routine.
Final Thoughts
Deep cleaning your refrigerator is one of those chores that offers immediate gratification. Not only will your fridge look and smell better, but you’ll also be creating a healthier environment for your food. By following these simple steps, you can ensure that your refrigerator remains clean, organized, and efficient.
Remember, the key to a clean fridge is consistency. Regular upkeep will make your deep cleaning sessions easier and less time-consuming. So, set aside some time every few months to give your refrigerator the attention it deserves. Your future self—and your food—will thank you!